How To File Upload In Laravel 10 Example
Websolutionstuff | Mar-15-2023 | Categories : Laravel
In this article, we will see how to file upload in laravel 10 examples. Here, we will learn about the laravel 10 file upload example step by step. Also, we will see how to validate file mime types, size, etc using laravel 10 validation rules.
Also, you can store the file name in the database and display a preview of them. But, here we will simply store the file in the public folder. So, we need to create routes and controllers for that.
So, let's see the laravel 10 file upload example, file upload in laravel 10, how to upload files in laravel 10, and laravel 10 upload files to storage.
In this step, we will install laravel 10 using the following code. So, run the following command to the terminal.
composer create-project laravel/laravel laravel_10_file_upload_example
Now, we will route it into the web.php file.
routes/web.php
<?php
use Illuminate\Support\Facades\Route;
use App\Http\Controllers\FileUploadController;

Route::get('file-upload', [FileUploadController::class, 'index']);
Route::post('file-upload', [FileUploadController::class, 'store'])->name('file.store');
In this step, we will create a FileUploadController file. So, add the following code to that file.
app/Http/Controllers/FileUploadController.php
<?php

namespace App\Http\Controllers;

use Illuminate\Http\Request;

class FileUploadController extends Controller
{
    public function index()
    {
        return view('fileUpload');
    }

    public function store(Request $request)
    {
        $request->validate([
            'file' => 'required|mimes:pdf,xlx,csv|max:1024',
        ]);

        $fileName = time().'.'.$request->file->extension();

        $request->file->move(public_path('uploads'), $fileName);


        return back()
            ->with('success','File Uploaded successfully.')
            ->with('file', $fileName);

    }
}
Store File in Public Folder:
$request->file->storeAs('uploads', $fileName);

// storage/app/uploads/filename.jpg
Store File in S3:
$request->file->storeAs('uploads', $fileName, 's3');
Store File in Storage Folder:
$request->file->move(public_path('uploads'), $fileName);

// public/uploads/filename.jpg
In this step, we will create a fileUpload.blade.php file.
resources/views/fileUpload.blade.php
<!DOCTYPE html>
<html>
<head>
    <title>How To File Upload In Laravel 10 Example - websolutionstuff.com</title>
    <link href="https://cdn.jsdelivr.net/npm/[email protected]/dist/css/bootstrap.min.css" rel="stylesheet">
</head>
<body>
<div class="container">

    <div class="panel panel-primary">

        <div class="panel-heading text-center mt-5">
            <h2>How To File Upload In Laravel 10 Example - websolutionstuff.com</h2>
        </div>

        <div class="panel-body mt-5">

            @if ($message = Session::get('success'))
                <div class="alert alert-success alert-dismissible fade show mb-2 mt-4" role="alert">
                    {{ $message }}
                    <button type="button" class="btn-close" data-bs-dismiss="alert" aria-label="Close"></button>
                </div>
            @endif

            <form action="{{ route('file.store') }}" method="POST" enctype="multipart/form-data">
                @csrf

                <div class="mb-3">
                    <label class="form-label" for="inputFile">Select File:</label>
                    <input
                        type="file"
                        name="file"
                        id="inputFile"
                        class="form-control @error('file') is-invalid @enderror">

                    @error('file')
                        <span class="text-danger">{{ $message }}</span>
                    @enderror
                </div>

                <div class="mb-3">
                    <button type="submit" class="btn btn-success">Upload</button>
                </div>

            </form>

        </div>
    </div>
</div>
</body>
</html>
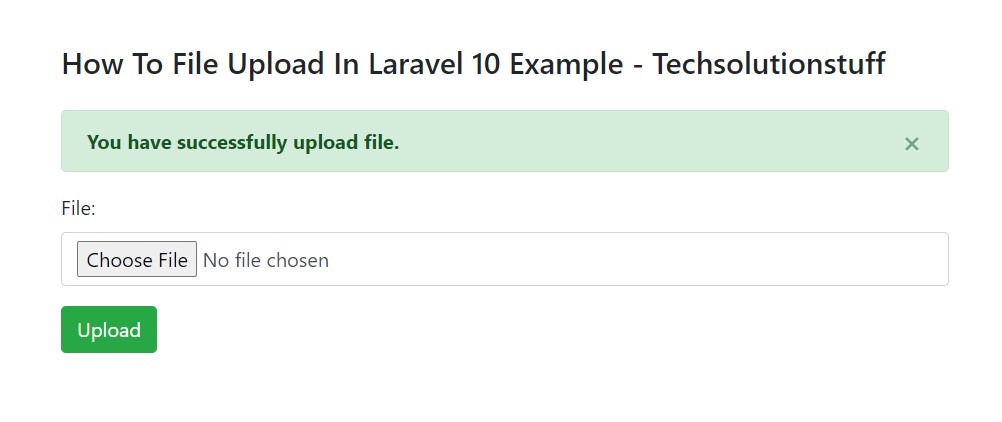
Output:
You might also like:
- Read Also: Laravel 9 Livewire File Upload Example
- Read Also: Laravel 9 Ajax File Upload With Progress Bar
- Read Also: How To Create Zip File Using Ziparchive in Laravel
- Read Also: How To Upload Large CSV File Using Queue In Laravel 9
Recommended Post
Featured Post

How To Validate Email Using jQ...
In this article, we will see how to validate email using jquery. we will use regular expression(regex) for email va...
Nov-09-2022

Laravel 9 Resize Image Before...
In this article, we will see how to resize image before uploading in laravel 9. we will install the intervention/im...
Jun-15-2022

How To Send E-mail Using Queue...
In this tutorial, I will show you how to send e-mail using queue in laravel 9, Some time we can see many...
Feb-21-2022

How To Check Image Blur Or Not...
In this article, we will see how to check image blur or not using python. For blur image check we are using the OpenCV p...
May-13-2022