How To Integrate Email Template Builder In Laravel
Websolutionstuff | Feb-22-2023 | Categories : Laravel PHP HTML
In this article, we will see how to integrate an email template builder in laravel. Also, you can integrate an email template builder into PHP. We will use unlayer email editor to build a responsive email template. You can create a custom email template design as per your business requirements.
Unlayer is an email editor and page builder to build beautiful, responsive designs quickly and easily. Use it online or embed it into your application. Using drag & drop to create emails in minutes. Also, you can add dynamic content with custom file storage and custom tools and blocks.
So, let's see laravel email template builder, laravel email template HTML, unlayer email editor, HTML email template editor, and how to use unlayer email template editor.
The first step is to add the following JavaScript library to your web app. This will load all the required assets for you to initialize the editor.
<script src="//editor.unlayer.com/embed.js"></script>
If you are using React, Angular, or Vue, check our components available on npm:
The Unlayer editor needs a container HTML element on your page to be rendered inside. Let's add a blank div first.
<div id="editor-container"></div>
Now, we'll initialize the editor in the blank div above by passing its id and some other configuration options.
unlayer.init({
  id: 'editor-container',
  projectId: 1234,
  displayMode: 'email'
})
Example:
<!DOCTYPE html>
<html>
<head>
    <title>How To Integrate Email Template Builder In Laravel - Websolutionstuff</title>
    <link rel="stylesheet" href="https://maxcdn.bootstrapcdn.com/bootstrap/4.0.0/css/bootstrap.min.css">
</head>
    <body>
        <div class="row">
            <div class="col-md-8">
                <div id="editor-container"></div>
            </div>
        </div>
    </body>
</html>
<script src="//editor.unlayer.com/embed.js"></script>
<script>
    unlayer.init({
        id: 'editor-container',
        projectId: 1234,
        displayMode: 'email'
    })
</script>
You can also run the editor in dark mode.
unlayer.init({
  id: 'editor-container',
  displayMode: 'email',
  appearance: {
    theme: 'dark',
  },
});
There are 2 ways you can change the appearance of Unlayer.
You can pass the appearance object during initialization like this:
unlayer.init({
  appearance: {
    theme: 'light',
    panels: {
      tools: {
        dock: 'right'
      }
    }
  }
});
You can change the appearance after initialization like this:
unlayer.setAppearance({
  theme: 'light',
  panels: {
    tools: {
      dock: 'right'
    }
  }
});
These are all the configuration options available that can be passed to the unlayer.init method.
| Attribute | Required | Description |
|---|---|---|
| id | Yes | This is the HTML div id of the container where the editor will be embedded. |
| displayMode | No | This is the template display mode which can be email or web. Default value is web. |
| projectId | No | This is the project ID from Unlayer. You can get it from the project settings page. |
| locale | No | This is the locale you want to load the editor in. We have many translations available. Learn more |
| appearance | No | These are the appearance options to change the look and feel of the editor. Learn more |
| user | No | This is the info of the user who is using the editor. You can pass id, name and email. Unique id is required to enable user saved blocks. |
| mergeTags | No | This is an array of objects. You can pass the merge tags to display in the editor. Learn more |
| designTags | No | You can pass design tags in this object. Learn more |
| specialLinks | No | You can pass special links in this object. Learn More |
| tools | No | These are the options for tools and custom tools. Learn more |
| blocks | No | This is an array of objects. You can pass custom blocks here. Learn more |
| editor | No | These are some editor options for different functions of the editor. Learn more |
| fonts | No | You can pass custom fonts here. Learn More |
| safeHtml | No | Sanitizes HTML output to prevent executable JavaScript from being inserted. |
| customJS | No | Custom JavaScript URL or source. Learn more |
| customCSS | No | Custom CSS URL or source. Learn more |
| textDirection | No | This is the text direction of HTML output which can be rtl or ltr. |
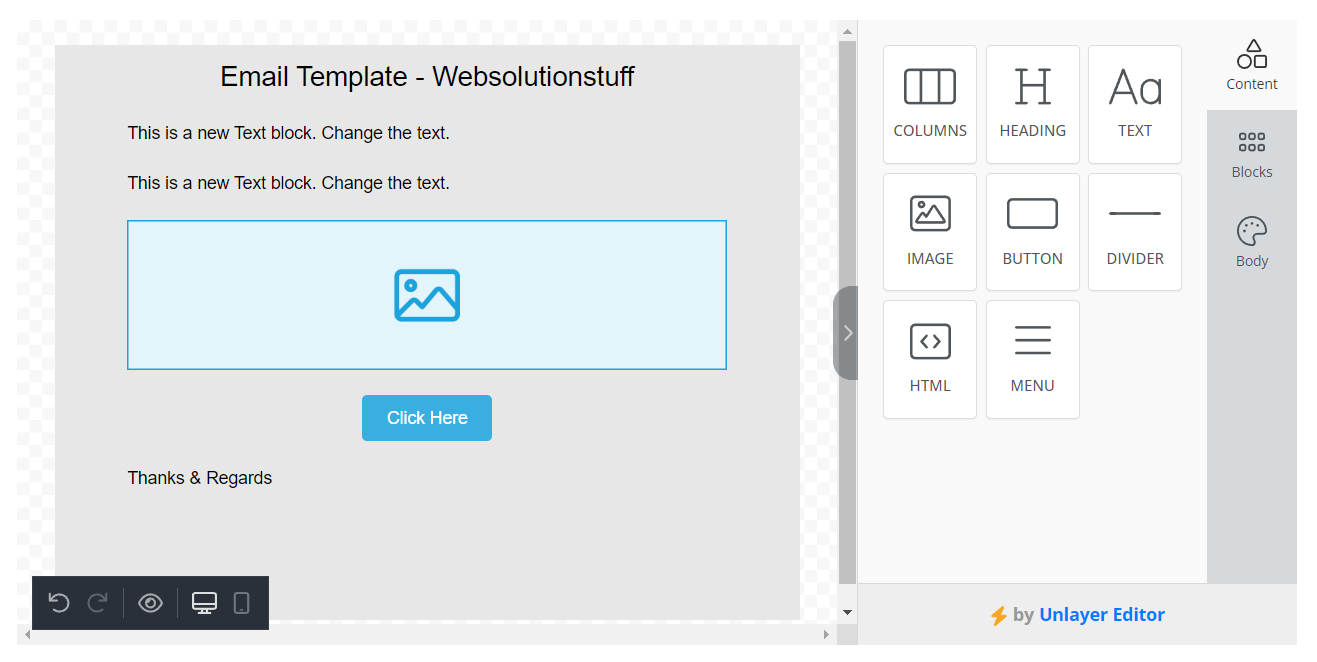
Output:
You might also like:
- Read Also: How To Add Ckeditor In Laravel
- Read Also: How To Install TinyMCE Editor In Laravel
- Read Also: How To Record And Play Audio In JavaScript
- Read Also: Image Upload in Summernote Editor Using Laravel
Recommended Post
Featured Post

Copy To Clipboard JQuery
In this article, we will see how to copy to clipboard jQuery. we will learn how to copy text from textarea&nbs...
Aug-19-2020

Laravel 8 User Role and Permis...
In this post i will show you laravel 8 user role and permission with example, here we will see how to set user role and...
Jun-02-2021

How To Install React JS Step B...
In this article, we will see how to install React JS step by step. we will see how to set up an environment fo...
Aug-08-2022

Laravel 8 Datatables Keeping S...
In this tutorial we will see laravel 8 datatables keeping selected page number after callback. In datatable page nu...
Dec-03-2021