Laravel 9 Image Upload Example
Websolutionstuff | Feb-28-2022 | Categories : Laravel PHP
In this tutorial, I will explain the laravel 9 image upload example. image or file upload is the most common task in web development. So, here I will show you how to upload image in laravel 9.
Here we will see laravel 9 upload image to the public folder. So, here we will create two routes, one for the getting method and the second for the post method. And also we are creating a basic form with file input. So you have to simply select an image and then it will upload in the "images" directory of the public folder.
So, let's see image upload in laravel 9, laravel 9 image upload with preview, laravel 9 upload image to public folder.
First of all, you need to install laravel if you have already then add routes in the routes/web.php file shown below.
<?php
use Illuminate\Support\Facades\Route;
use App\Http\Controllers\UserController;


Route::get('upload/image', [ UserController::class, 'ImageUpload' ]);
Route::post('upload/image/store', [ UserController::class, 'ImageUploadStore' ])->name('upload.image.store');
In this step we will create new UserController and we will add two method ImageUpload() and ImageUploadStore(). here the first method will handle get method another one for post. So, copy the below code.
app/Http/Controllers/UserController .php
<?php

namespace App\Http\Controllers;

use Illuminate\Http\Request;
use App\Models\User;

class UserController extends Controller
{
    public function ImageUpload()
    {
    	return view('index');
    }

    public function ImageUploadStore(Request $request)
    {
    	 $request->validate([
            'image' => 'required|image|mimes:jpeg,png,jpg|max:2048',
        ]);

        $imageName = time().'.'.$request->image->extension();

        $request->image->move(public_path('images'), $imageName);

        return back()
            ->with('success','You have successfully upload image.')
            ->with('image',$imageName);
    }
}
In the blade file, we will create a basic form with an upload button. So, add the below code.
<html>
<head>
    <title>Laravel 9 Image Upload Example - Websolutionstuff</title>
    <link href="https://cdnjs.cloudflare.com/ajax/libs/twitter-bootstrap/4.0.0-alpha/css/bootstrap.css" rel="stylesheet">
</head>
<body>
    <div class="container">
        <h2 style="margin-top: 30px;">Laravel 9 Image Upload Example - Websolutionstuff</h2>
        <div class="panel-body">
            <div class="col-md-8">
            @if ($message = Session::get('success'))
            <div class="alert alert-success alert-block">
                <button type="button" class="close" data-dismiss="alert">×</button>
                    <strong>{{ $message }}</strong>
            </div>
            <img src="{{asset('images')}}/{{ Session::get('image') }}" width="300" height="300">
            @endif

            @if (count($errors) > 0)
                <div class="alert alert-danger">
                    <strong>Whoops!</strong> There were some problems with your input.
                    <ul>
                        @foreach ($errors->all() as $error)
                            <li>{{ $error }}</li>
                        @endforeach
                    </ul>
                </div>
            @endif

            <form action="{{ route('upload.image.store') }}" method="POST" enctype="multipart/form-data">
            @csrf
                <div class="row"> <br>
                    <div class="col-md-6">
                        <input type="file" name="image" class="form-control">
                    </div>
                    <div class="col-md-6">
                        <button type="submit" class="btn btn-success">Upload</button>
                    </div>
                </div>
            </form>
            </div>
        </div>
    </div>
</body>
</html>
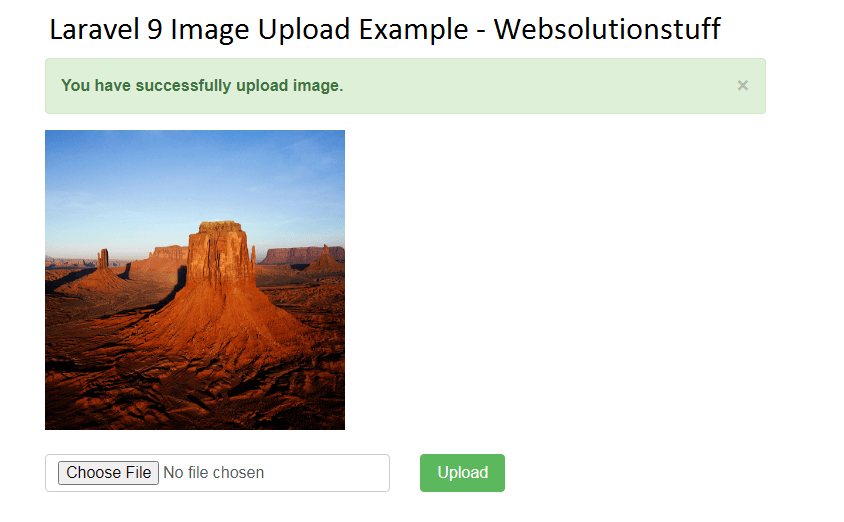
And finally, you will get results like the below image.
You might also like :
- Read Also: Laravel 9 AJAX CRUD Example
- Read Also: Laravel 9 Form Validation Example
- Read Also: Laravel Unique Validation on Update
- Read Also: How to Get Selected Checkbox Value in Array Using jQuery
Recommended Post
Featured Post

How To Install LAMP Server In...
In today's digital landscape, hosting dynamic websites and powerful web applications is essential for individuals an...
Jul-31-2023

How To Redirect Another Page U...
In this article, we will see how to redirect another page using javascript. we will redirect the page to another pa...
Nov-04-2022

Laravel 10 Change Column Name...
In this article, we will see laravel 10 change column names and data types in migration. Here, we will learn about...
Apr-19-2023

Laravel 9 Generate PDF From HT...
In this article, we will see laravel 9 generate PDF from HTML using TCPDF. Here, we will learn how to integrate tcpdf in...
Jan-31-2023