Laravel 9 Barcode Generator Example
Websolutionstuff | Mar-26-2022 | Categories : Laravel PHP
In this article, we will see laravel 9 barcode generator example. In this example we will use the milon/
So, let's how to generate barcode using milon/barcode package in laravel 9, how to generate barcode in laravel 9, barcode generator laravel 9, laravel 9 barcode generator, milon/barcode laravel 9, how to create barcode in laravel 9, how to print barcode in laravel 9.
Step 1 : Install Laravel 9
Step 2 : Install milon/
Step 3 : Add Service Provider And Aliase
Step 4 : Create Controller
Step 5 : Add Route
In this step, we will create laravel 9 application using the below command.
composer create-project --prefer-dist laravel/laravel barcode
After installation of project, you need to install milon/
composer require milon/barcode
You can also edit your project's composer.json file to require milon/barcode.
"require": {
    "milon/barcode": "^9.0"
}
Next, update Composer from the Terminal:
composer update
Once this operation completes, the final step is to add the service provider. Open, and add a new item to the provider's array.
'providers' => [
    // ...
    Milon\Barcode\BarcodeServiceProvider::class,
]
If you want to change Bar-code's settings (Store Path etc.), you need to publish its config file(s). For that, you need to run in the terminal-
# Laravel 5.x
php artisan vendor:publish
Now add the alias.
'aliases' => [
    // ...
    'DNS1D' => Milon\Barcode\Facades\DNS1DFacade::class,
    'DNS2D' => Milon\Barcode\Facades\DNS2DFacade::class,
]
Now create a controller app\Http\Controllers\BarcodeController.php and add the below command.
<?php

namespace App\Http\Controllers;

use Illuminate\Http\Request;

class BarcodeController extends Controller
{
    public function barcode()
	{
	    return view('barcode');
	}
}
We need to add route for generating Barcode and view file.
<?php

use Illuminate\Support\Facades\Route;
use App\Http\Controllers\BarcodeController;
/*
|--------------------------------------------------------------------------
| Web Routes
|--------------------------------------------------------------------------
|
| Here is where you can register web routes for your application. These
| routes are loaded by the RouteServiceProvider within a group which
| contains the "web" middleware group. Now create something great!
|
*/

Route::get('/', function () {
    return view('welcome');
});

Route::get('barcode', [BarcodeController::class,'barcode']);
Now, create barcode.blade.php file for generate Barcode in this path resources\views\barcode.blade.php and add below html code.
<html>
<head>
<meta charset="utf-8">
<meta http-equiv="X-UA-Compatible" content="IE=edge">
<title>Laravel 9 Barcode Generator Example - Websolutionstuff</title>
<link rel="stylesheet" href="https://maxcdn.bootstrapcdn.com/bootstrap/3.3.7/css/bootstrap.min.css">
</head>
<div style="margin-left:265px; margin-right: 265px; margin-top: 40px;">
<h2 class="text-primary" style="text-align: center;margin-bottom: 20px;">Laravel 9 Barcode Generator Example - Websolutionstuff</h2>
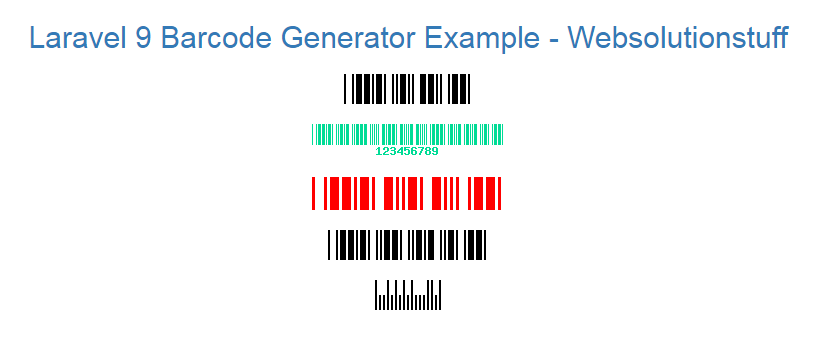
<div style="text-align: center;">
<img src="data:image/png;base64,{{DNS1D::getBarcodePNG('10', 'C39')}}" alt="barcode" /><br><br>
<img src="data:image/png;base64,{{DNS1D::getBarcodePNG('123456789', 'C39+',1,33,array(0,220,150), true)}}" alt="barcode" /><br><br>
<img src="data:image/png;base64,{{DNS1D::getBarcodePNG('5', 'C39+',3,33,array(255,0,0))}}" alt="barcode" /><br><br>
<img src="data:image/png;base64,{{DNS1D::getBarcodePNG('11', 'C39+')}}" alt="barcode" /><br><br>
<img src="data:image/png;base64,{{DNS1D::getBarcodePNG('25', 'POSTNET')}}" alt="barcode" /><br/><br/>
</div>
</div>
</html>
Output :
You might also like :
- Read Also : Laravel 9 Cron Job Task Scheduling Tutorial
- Read Also : Laravel 9 Datatables Filter with Dropdown
- Read Also : Laravel 9 Yajra Datatable Example
- Read Also : Laravel 9 Image Upload Example
Recommended Post
Featured Post

How to Reset MySQL Root User P...
Hey there! If you've ever found yourself scratching your head over a forgotten MySQL root password on Ubuntu, fear n...
Jan-26-2024

Date Range Filter In Datatable...
In this article, we will see the date range filter in the datatable jquery example. Many times we required data of ...
Nov-14-2022

How To Copy Text To Clipboard...
In this article, we will see how to copy text to the clipboard in react js. you will learn how to copy text to...
Aug-31-2022

How To Import CSV File In MySQ...
In this tutorial we will see how to import CSV file in MySQL using Node.js. Import and export CSV/EXCEL file in Nod...
Jul-30-2021